All Aboard The Linen Bandwagon {Megan Nielsen Sudley Dress}

webDSC_6749

You’ve seen it around, haven’t you? Linen dresses, linen pants, awesome linen overalls (jumpers for my US friends, I think?) – usually worn by women with long, tangled, sun bleached hair dreamily looking off into the distance. Maybe on a beach, maybe wearing a big hat.

webDSC_6763

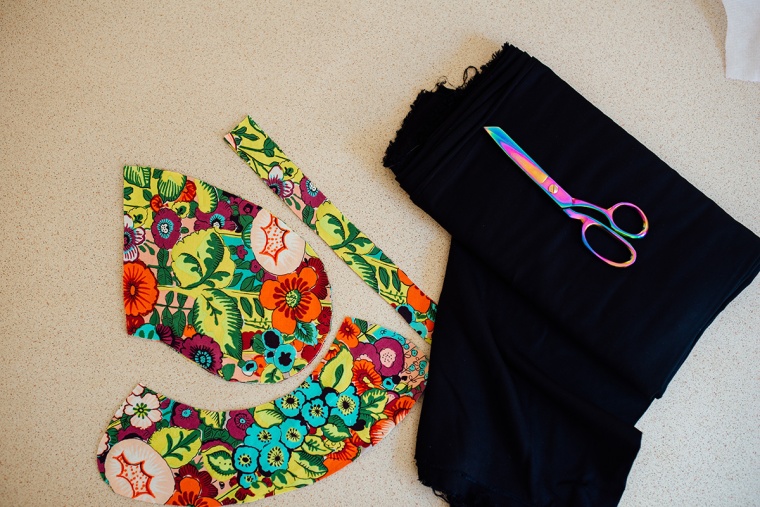
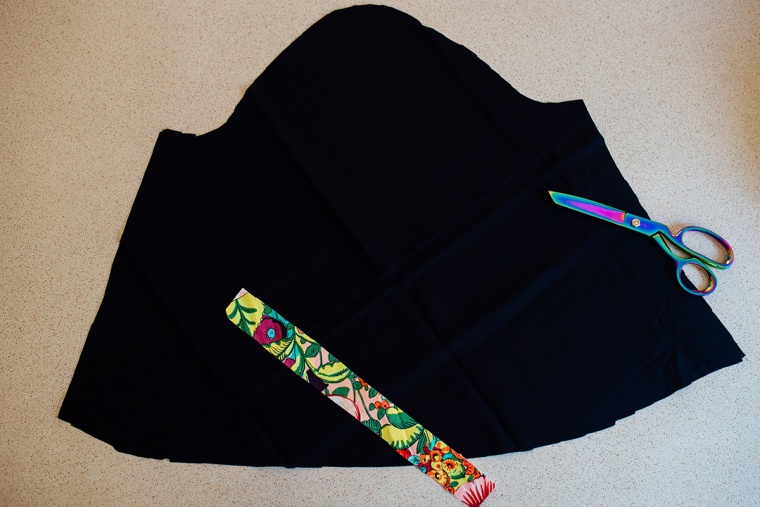
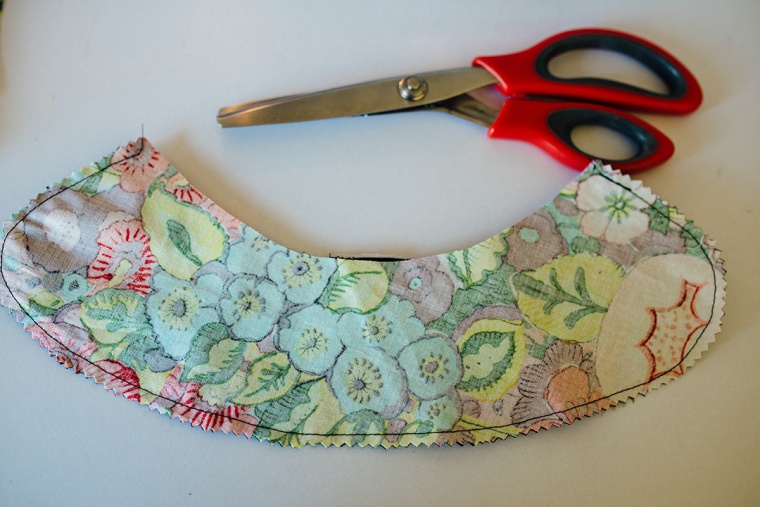
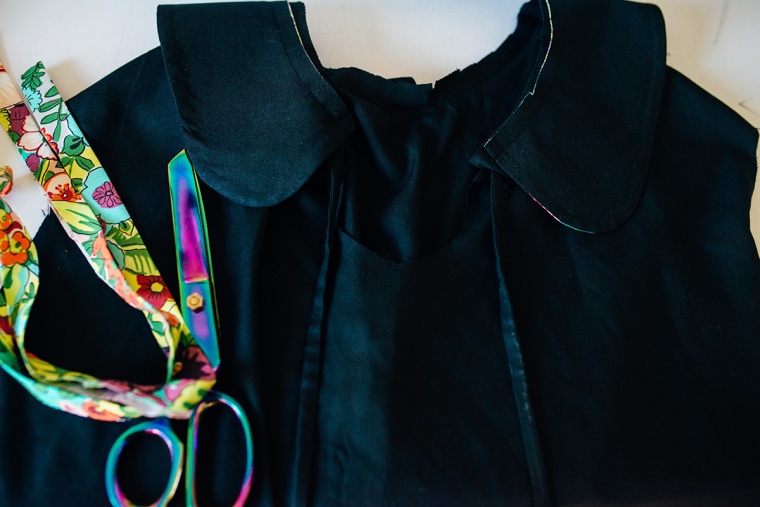
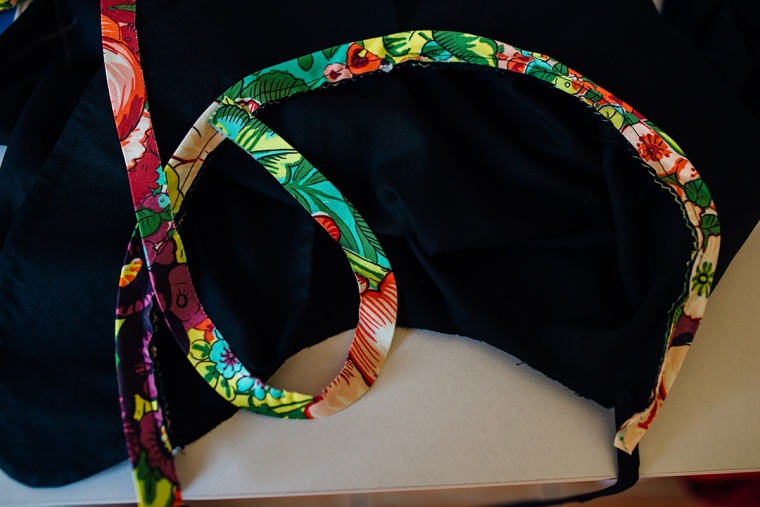
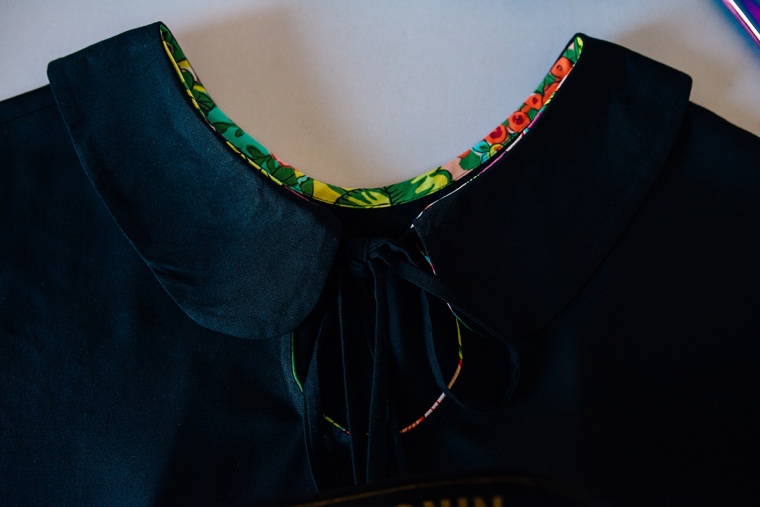
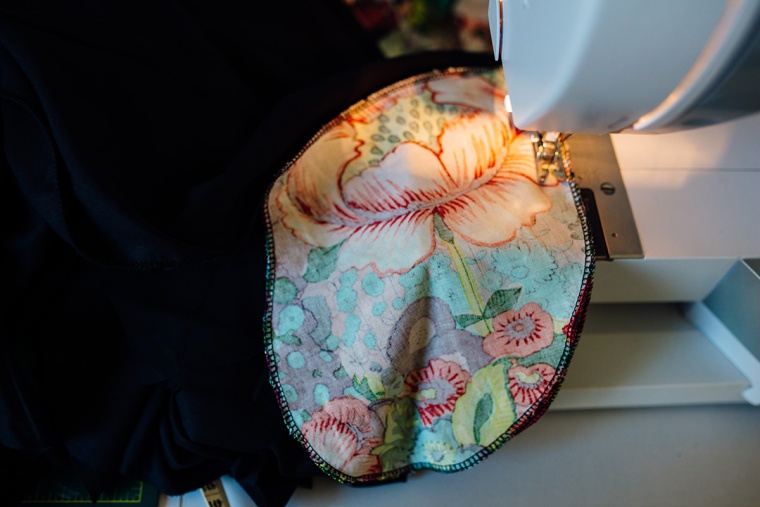
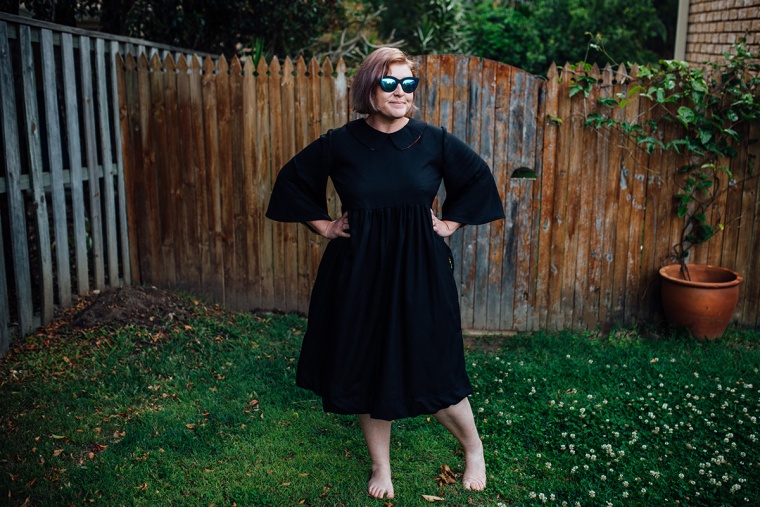
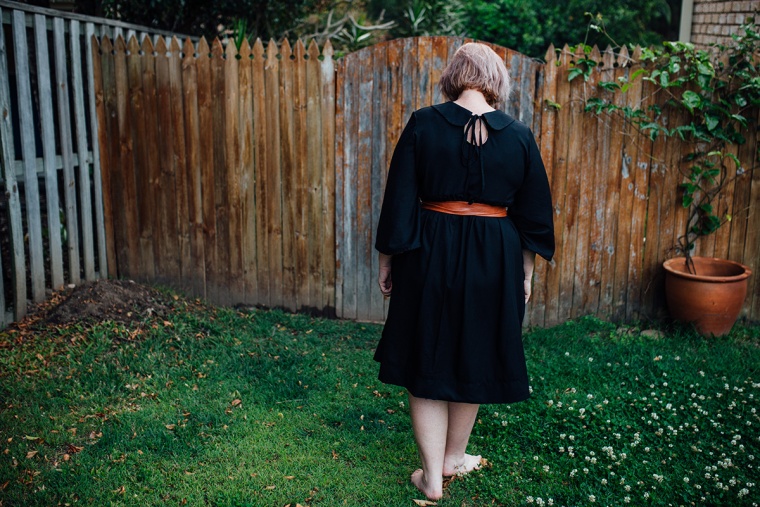
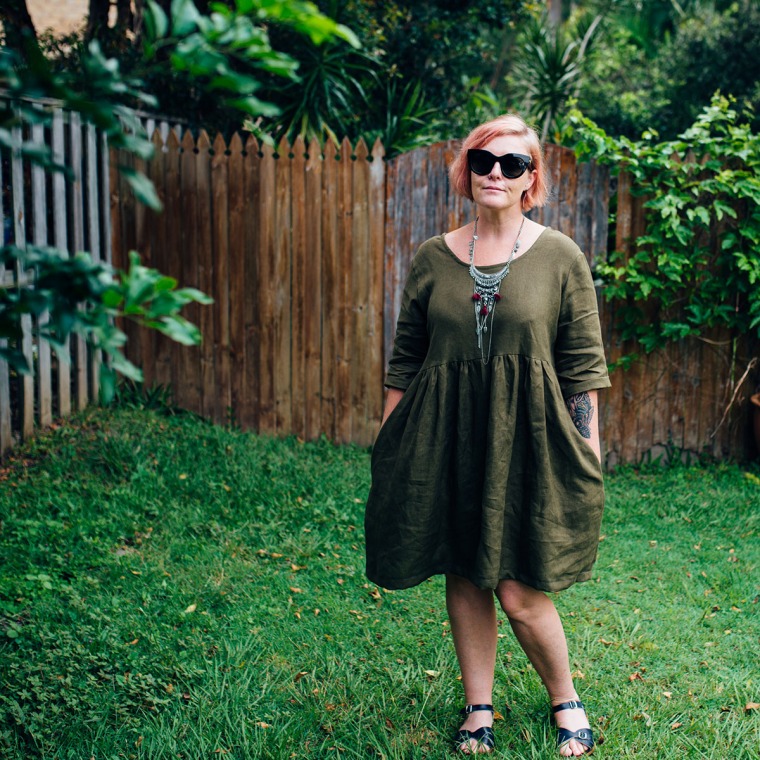
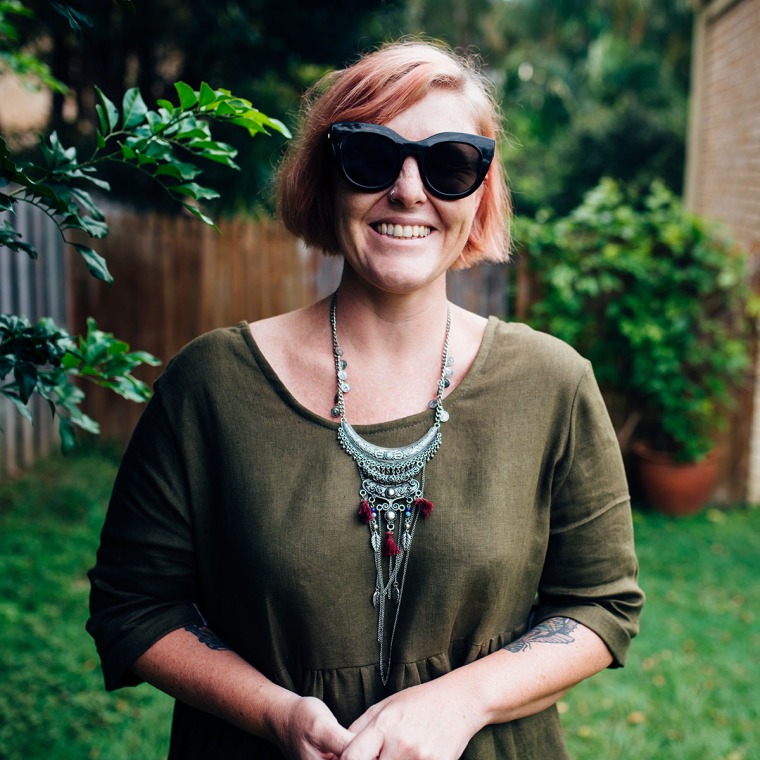
I decided I might like a piece of that. Not that I look like the models, but since when has that stopped me? I ordered my olive linen from The Remnant Warehouse (it’s nice quality too, not too thin or stiff) recently and knew I’d pair it with the most simple of Sudley dresses. I scooped the neckline slightly and made it the same front and back. I used the 3/4 sleeves and have rolled them up and put a stitch in them so they stay put. The neckline is finished with bias facing and yes it has pockets, of course. The pattern itself has about eleventy billion combinations of sleeve length, waist length, neckline shape and skirt length variations.

webDSC_6779

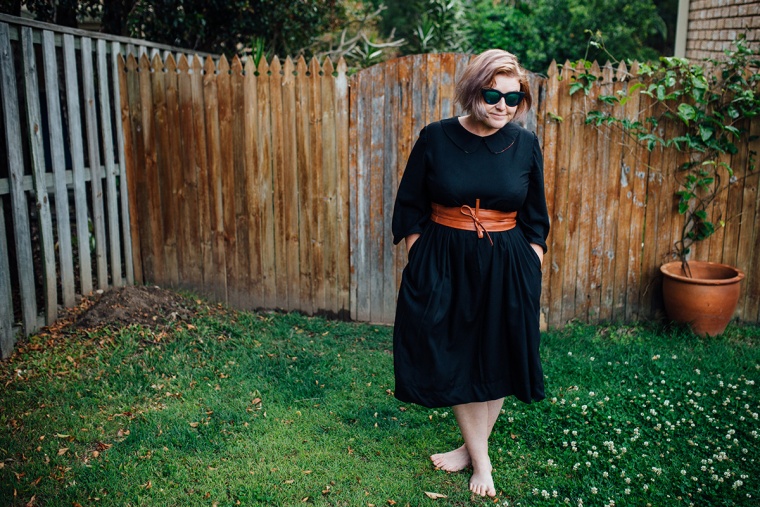
Oh yes. I was going to pare it right back. Simple as heck. That’s me, isn’t it? Just super minimalist. I can hear you laughing. No surprise that I’m not really digging this on me. I think it’s a grower. I love the dress pattern and have made it many times (please don’t mention the F word, every time someone says something about a garment being ‘flattering’, my internal feminist ranting starts up – why the hell I need to make my body look better for everyone elses viewing?). Rant aside, I think it’s the block colour and the actual colour. It’s very different for me.

webDSC_6758

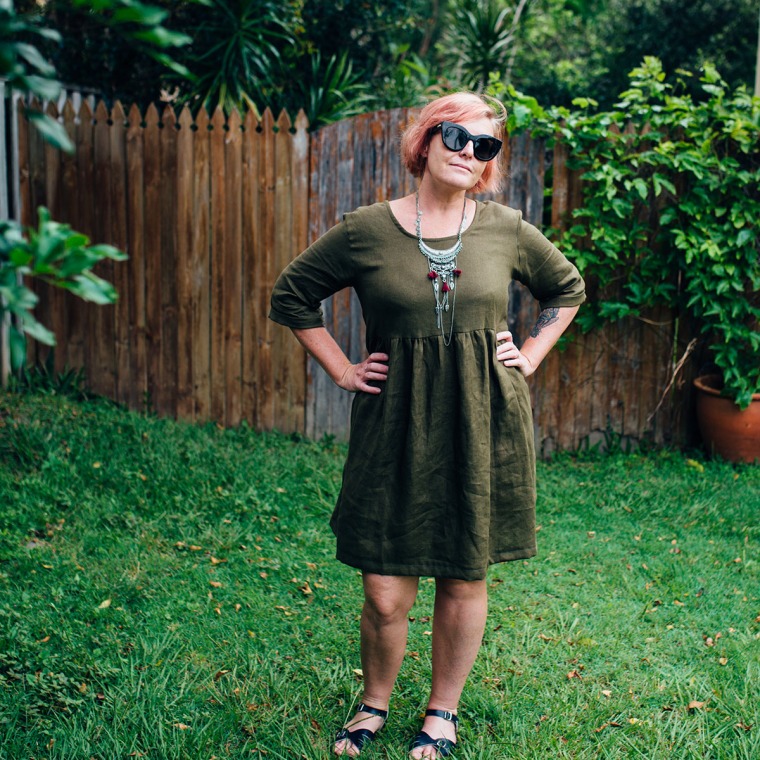
Will I wear it though? YES. It will be so nice to hang out in during summer and I might even add some tights and boots for winter. That might make it less high school art teacher chic for me (sorry art teachers, I know you’re out there and I love you).

webDSC_6784

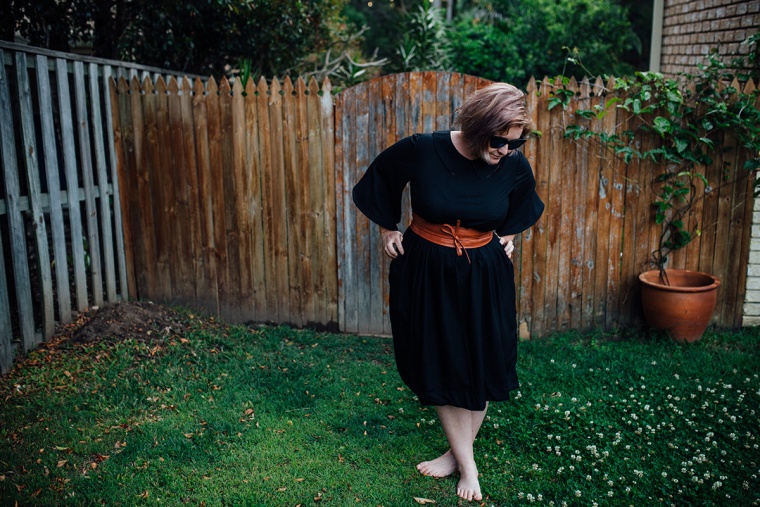
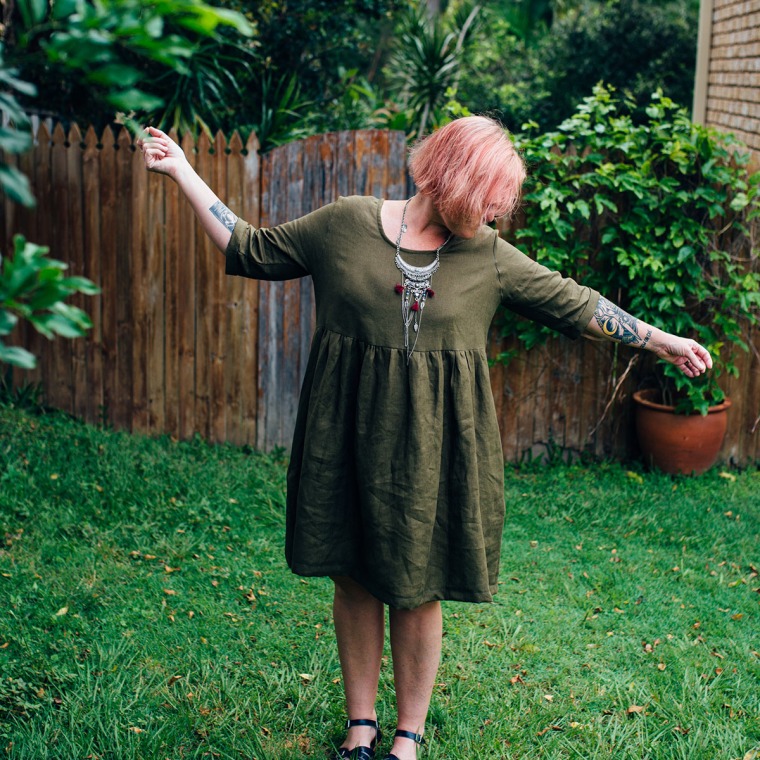
My kids were trying to photo bomb me by this stage, hence the crinkly nose laughing. Never a dull moment.


Say Mesh to the Dress {Megan Nielsen Sudley Dress}

webDSC_7910

I had a function to go to on Friday night. On Thursday I found out it was cocktail, rather than casual. Incidentally, when I was in Brisbane last weekend, I spotted (LOL) a pretty lady wearing a gorgeous polka dot mesh dress. I was going to be a creeper and ask where she got it, but I figured it was something I could probably make myself. I’ve seen a number of mesh RTW dresses around lately (without a lining) and I love the look.

webDSC_7952

Then the remnant table at Spotlight provided, in the form of $8/m. Challenge accepted. So on Thursday when I found out I needed a dressier dress, I wracked my brain to think of a pattern I could use. I wanted a floaty, relaxed fit – that way I wouldn’t have to bother with a zip in fine fabric. I wanted those McCalls 7542 sleeves again because FASHUN. And then it hit me, my darling Sudley. I have made it many times before, but usually it’s a summery, beachy choice. Not today, Sudley. Today we are going AFTER DARK. And we did.

The first thing I did was replace my needle with a sparkly fresh fine sharp one.

webDSC_7893

First hurdle: I should do french seams because they are visible through the dress. Did I have time for french seams? Not really. So I just ended up using my overlocker. Quick and neat. Not as neat as french seams, but to be honest it’s not super noticeable.

webDSC_7897

Second hurdle: Neck closure. Megan suggests ties or a hook and eye. I wasn’t thrilled about either for this dress. Ties seemed to casual and I thought I could do better than hook and eye. Instead I used a black fabric covered button from my stash and fine black elastic for the loop. Looks cool, not that you can see it. Sorry.

Third Hurdle: That collar. This one caused me the biggest brain strain. Usually, you’d use iron on interfacing to give the collar a bit of structure, but that can’t happen in this case because you’d see it through the mesh. I turned to my FB sewing group for this one and a clever lady suggested organza, which is brilliant – light but still structured. That led me to remember the black bra lining in my stash, which is a lot like organza, it’s very light but very strong as it has to prevent stretch in bra cups and bridges. Perfect. It worked really well. For consistency I used the overlocker for the collar pieces too.

webDSC_7895

Fourth Hurdle: Not really a hurdle, but I wasn’t keen on attempting my first rolled hem and I knew a standard hem wouldn’t look right, so I used black bias binding to finish the dress and sleeve hems. I also used it in place of the facing on the neckline and keyhole.

webDSC_7951

All that I needed was a slinky black slip (not made by me), shoes and a clutch and I was event ready, baby. Oh and you know, hair and make up and all that stuff.

Will definitely wear this one again.

webDSC_7917


D’oh {Megan Nielsen Sudley hack}

I will preface this by saying – I love Megan’s Sudley pattern. I already have two that are in high rotation. This one seemed like such a good idea in my head, sensible black but with fun, roomy bell sleeves as I need to be able to move my arms around a lot when I’m shooting. Win win, eh? Maybe not.

I actually bought 4 metres of this rayon earlier this week, but with a different project in mind, Simplicity 8103. It’s a maxi wrap 70s number and when I saw the rayon on sale, I thought ‘heck yes, S8103’. Trouble is, I hadn’t looked at the pattern before I left home and thought, ‘Meh, 4 metres should do it’. Wrong again. Try 10. YES, TEN METRES. The 70s was all about big things, I guess that includes fabric. So a longer version of Sudley was my next choice, it loves a bit of drape. The extra length would make it more suitable for work and I’ve also had shrinking issues with rayon in the past. Yes, the black rayon will make it understated and classy (in hindsight, that’s where I went wrong. Nothing about me is understated and classy). But hang on, how about I get my 70s fix by changing the sleeves?! Oh yes, silent high fives to me. These turned out to be short lived.

webdsc_1841webdsc_1843

But first, let’s look at the really nice details of Sudley. She’s simple, she doesn’t have a right way or a wrong way – you can choose whether you want to wear her with the keyhole at the back or at the front. Genuis. Because of her flowy boho vibe, there’s no need for any closures either. Or darts. Excellent.

I decided that going black with the facings and pockets might make my dress a bit too Morticia Addams (HA) so I dug out some scraps of this rad Alexander Henry print I had left in my stash. Oh yes, what cute little floral hints there will be. Sudley doesn’t have pockets on the pattern, but of course I added them anyway. She has this really lovely bias facing around the keyhole too, which I thought I would continue on through the sleeves. Cute, but not cute enough to save it from the inevitable. It also has these long narrow ties which look beautiful, but are a pain to turn. I use this little guy and just knot the ends.

webdsc_1844

I’ve been upping my collar game lately and found clipping with pinkers really helps to get a nicely turned out collar. I needed to be particularly careful with this collar because I used that printed fabric for the under collar.

webdsc_1845

Collar attached.

webdsc_1848

As tempting as it is to neglect some of that pressing, it’s really necessary with collars and facings. Next level stuff. Pressing that bias into a round shape really helps that keyhole look ace. There’s an excellent tutorial for this part here.

webdsc_1850

Bias facing done. It’s peeking out a tiny bit from the keyhole, but nothing I can’t live with. After this I attached the sleeves and did the facing on their hems. I was very bloody pleased with myself, I must admit. It looked like a dark modern take on the 70s. Maybe a bit witchy, but I really dug the movie The Craft when I was a teenager.

webdsc_1852

Pockets for the skirt. Oh yeah. Still none the wiser.

webdsc_1846

It was attaching the bodice to the skirt and holding it up to admire my handiwork when it dawned on me. I felt butterflies of disappointment start to roll around in my stomach. Oh no. I’d had such high hopes for this dress.

Oh god. The sleeves. The empire waist. The black. The fabric. The sensible length. How could I not see it before?

A GRADUATION GOWN.

I made a graduation gown.

webdsc_1859

Could it be saved? The sleeves are kimono-ish. Maybe my obi belt?

Jury is still out.

Just realised it could be a judges robe too. Excellent.

webdsc_1889webdsc_1877webdsc_1898webdsc_1888webdsc_1891

My favourite things.

I thought a nice, sensible way to start my blog would be to list some of my favourite patterns and designers as I’ve trialed many over the years. Let’s just say I can be picky. I have very three very specific prerequisites and I rarely stray from them. I like my upper arms covered, I like my thighs covered and I like pockets. The latter being the most important, obviously. I must stop right here and add the disclaimer that I don’t believe in ‘fashion rules’, I loathe the word ‘flattering’ and I will fight to the death against anyone that tries to convince anyone else that they need to cover up certain parts of themselves. Basically, you wear whatever the hell you want and no one can tell you otherwise. So while I have no issues with whatever anyone else decides to cover or uncover, I am more comfy with sleeves and knee length skirts. With that said, here are my favourite patterns.

  1. Emery Dress by Christine Haynes.I have made so many of these. So many. Sometimes I make them with a fuller gathered skirt, sometimes with a circle skirt, sometimes with the slightly gathered A line version straight from the pattern. You can see below I’ve also made a more scooped neck, maxi version and also a bit of a heart cut out back version. It’s a dress that goes together in the most lovely, simple way and it is suitable for those of us with a curvier shape. Boobs and hips, if you will.

2. Sudley Blouse by Megan Nielsen.

Oh Sudley, how I love thee. A relative new comer to my stash, she became a firm favourite right away. And to be honest, I bought Sudley for the blouse version – but on a whim decided to go with the dress first. I’m yet to make the blouse *cough*. This is my ideal beach dress – no zip, no buttons – just a straight over the head, easy peasey, comfortable as heck dress. A nice change to the structured ones I usually wear. Perfect for a slightly dusty feeling Sunday too. Did I mention it’s reversible? REVERSIBLE. It’s another that goes together really nicely and pretty quickly because there are no darts or closures. The trickiest bit is that lovely bias facing, but there’s an excellent tutorial for that here.


3. Simple Gathered Skirt

Ok, so this is kind of cheating because it’s not really a pattern, but it’s something I make all the time and is super easy. I have a curved waistband from a vintage pattern that I know fits me well and I use it for pretty much every skirt I make – I just gather skirt panels the width of the fabric I’m using. That’s it. One on the fold for the front, two panels for the back and a zip up the back. So easy. Gathering is great like that because you can just make it fit. I line up the centre front of the skirt to the centre front of the interfaced waistband and add pockets. Sometimes I maxi them, sometimes I add buttons down the front instead of the zipper – but they’re all basically the same.


I have way more to share, but those are definitely the three that I’ve sewn the most.